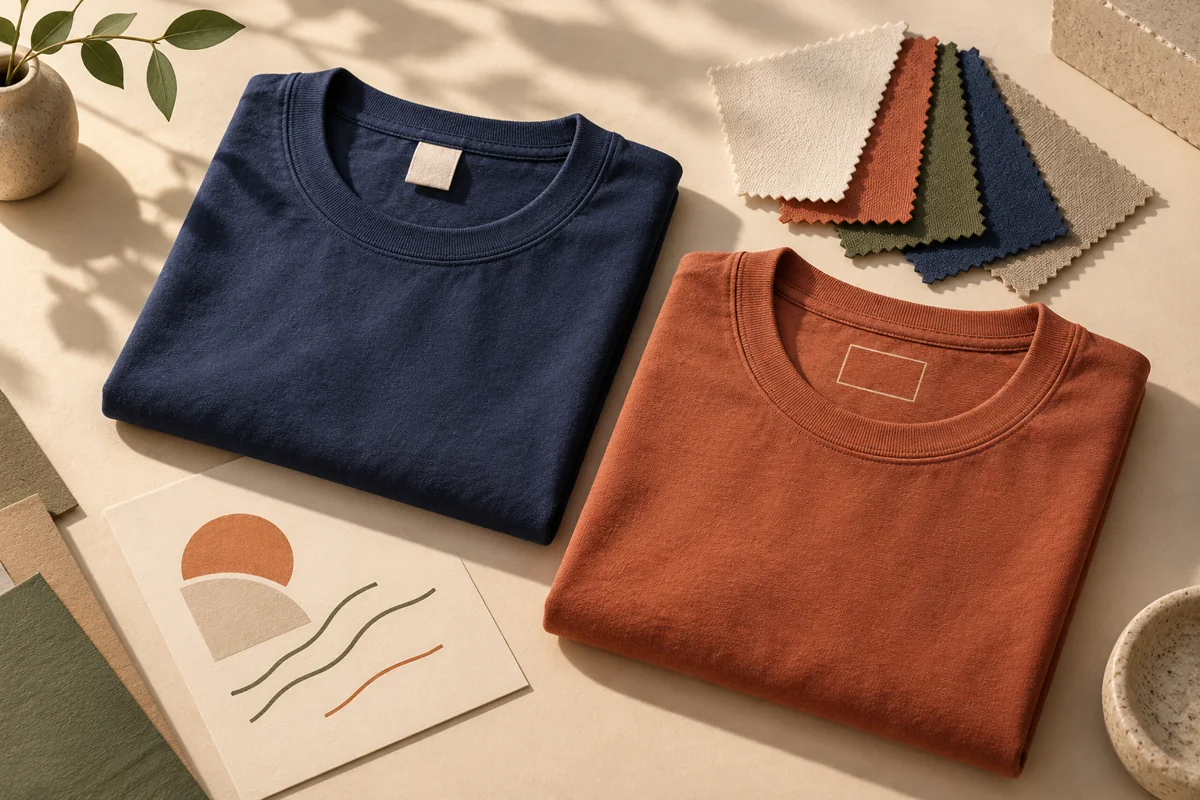
Keep the factory neck label unless a custom inside label solves a specific branding or wearer-comfort problem—and the supplier can preserve accurate product information for every ordered variant. A removable tag is an opportunity to evaluate relabeling, not automatic approval to replace everything with a company logo.
For an employee store, the important decision is not simply sewn tag versus printed ink. It is whether the finished shirt remains easy to identify, comfortable to wear and straightforward to care for after the original label changes. An attractive mockup cannot answer all three questions.
Brand Sauce publishes this guide as a company-store provider. The workflow below is our recommended purchasing approach, not a claim that Brand Sauce or every decorator offers every labeling method. Sources were checked October 15, 2026. The regulatory examples concern U.S. apparel; have the responsible supplier confirm requirements for the exact product and destination.
Choose the least complicated label route that meets the brief
Begin with the reason for changing the label. “Make it feel more like our brand” is a different brief from “reduce an uncomfortable neck tag.” The first might be solved with an outside logo or packaging. The second needs a physical wearer assessment, not a larger branding area.
| Route | When to consider it | What to verify | Main tradeoff |
|---|---|---|---|
| Keep the factory labels | The blank already meets the comfort brief and employees value the original brand | Labels remain readable after decoration; support can identify the style | Less interior brand customization, fewer label-specific production decisions |
| Replace an eligible tear-away neck tag with an inside print | A cleaner interior identity is important and the exact garment supports the process | Removal quality, print feel, information placement and variant matching | Another decorated area to approve and maintain |
| Add a custom sewn label | A deliberate retail-style finish justifies a separate label and attachment process | Placement, edges, stitching, remaining original information and reorder terms | Label inventory or attachment work may add complexity |
| Leave labels alone and brand elsewhere | The garment or production route is unsuitable for relabeling | Outside artwork or packaging meets the branding objective | The inside remains manufacturer-branded |
Do not remove a recognized manufacturer identity just because the option exists. If employees are choosing the shirt partly for its brand, changing the neck label may work against the reason it was selected. Keep the product description honest about the underlying garment.
Map the whole garment before removing one tag
Ask for photographs of the neck, side seam and every other information label on the actual blank. Mark what remains, what is removed and what is added. A close-up of the new logo alone is not a complete proof.
The FTC’s textile-labeling guidance explains that most covered products need fiber, origin and responsible-business identification. Replacing a label carrying required information means replacing that information, not merely adding a logo. The guide also describes replacement-label identification and three-year recordkeeping obligations. Have the supplier review the complete label arrangement, including placement and any applicable exceptions, before approving removal.
Use a simple internal map: “Original neck tag removed; side-seam label retained; new neck print added.” Attach before-and-after photographs to that map. This makes a later support question answerable without asking someone to remember what the first sample looked like.
Keep a separate distinction between company identity and garment identity. A welcome slogan can remain the same across a collection. The underlying style, ordered size and applicable garment information cannot be treated as interchangeable merely because the artwork looks similar.
Check the product-specific workflow, not a general branding promise
A current provider example illustrates why this matters. Printful’s neck-label documentation limits its inside-label option to apparel with tear-away tags. For its DTG, DTFlex and embroidery products, it describes automatically supplying origin, size and material details from the shirt specifications. For all-over-print products, it describes a different arrangement: the inside design can be branding-only while product information sits on a side label.
Those are Printful-specific workflows, not universal capabilities or a substitute for checking a finished garment. The useful purchasing question is: Which information is generated for this exact variant, where does it appear, and who checks the result? Request a demonstration using the colors, sizes and production route you will actually order. A provider’s example shirt is not proof that your preferred style supports the same treatment.
Ask for a written quote covering the blank, primary decoration, neck-label work, samples, any setup or attachment charge, and shipping. Treat missing prices as quote-needed. Do not assume removing a small tag is a free production step.
Make the label approval variant-aware
Create one approval record for the labeling configuration, with references to its supporting product data. The record should connect the store’s selection to what the production team prints or attaches.
- Product key: supplier style, store item reference, color and size.
- Source evidence: dated specification and photographs of the original labels.
- Label plan: each label’s location and whether it is retained, removed or added.
- Artwork control: approved logo file, print dimensions, ink choice or sewn-label construction, and revision identifier.
- Variable content: fields populated from product data rather than embedded permanently in the logo artwork.
- Release owner: person responsible for matching the proof and physical sample to the order.
- Change triggers: substitutions, supplier changes or revised specifications that require another review.
Illustrative example: a program offers two shirt colors in four sizes. That creates eight color-size combinations, not one universal label file. It does not automatically require eight physical samples; it does require confirming how each combination receives the right information. If one color has a different composition, a single fixed material statement copied across all eight is the wrong approach.
Preserve the manufacturer’s size designation in the underlying record. Do not silently rename a size to make an employee-facing range look more consistent. Pair the label plan with the correct body-measurement or garment-dimension chart, so the selection page and delivered shirt tell the same story.
Approve a finished sample with six concrete checks
Use a sample made through the intended production route, including the main decoration and the proposed label treatment. A blank with a temporarily positioned label cannot demonstrate removal quality or final print feel. Add these checks to your broader branded-apparel sample approval.
- Removal: inspect the inner collar for leftover tag fragments, open stitching or damage. Photograph the result close enough that another reviewer can see it.
- Information: compare the finished garment with its approved record. Check the ordered size and the retained labels as well as the new neck design.
- Readability: assess the physical print at actual size under ordinary room lighting. Do not approve tiny information because it looks readable when a digital proof is enlarged.
- Wearer contact: let a willing reviewer assess the collar area in normal wear. Record the specific concern—an edge, stiffness or placement—rather than assuming “printed” means comfortable for everyone.
- Exterior appearance: inspect the outside back of the shirt for visible show-through, marks or an unwanted impression from the inside treatment.
- Care check: follow the approved finished-garment instructions and inspect the label again. Record the method and number of cycles actually completed; do not describe a brief pilot as lifetime durability testing.
The FTC’s care-label guide says covered care instructions need permanence and legibility and may be printed directly on the garment if those requirements are met. It also discusses evidence for care directions and exceptions, including certain employer-purchased work uniforms. Do not assume an optional employee gift has the same treatment as an institutional uniform. Have the responsible supplier establish the applicable requirements and finished-product instructions.
If the sample fails, choose a specific correction: different placement, adjusted artwork, a different eligible blank or retention of the factory label. “Make it more premium” is not a production instruction and gives the next reviewer nothing objective to check.
Choose on-demand, bulk or hybrid around the label process
On-demand labeling can make sense when the eligible product and label treatment are supported on individual orders, recipient sizes are uncertain and the program runs continuously. Confirm that a replacement order uses the same approved configuration. Also confirm what happens when an alternate fulfillment route is needed; do not assume every facility produces the same label option.
Bulk can be a sensible choice for a fixed launch with a known size allocation, a special sewn-label treatment or a concentrated inspection step. The benefit is a controllable batch, not an automatic lower total cost. Include unused sizes, stored labels, attachment work and rework in the comparison.
A hybrid may keep the main collection on demand while using a separately approved labeled run for an anniversary or event. If custom sewn labels are stocked, define who owns them, where they are held and what happens after a logo change. A box of obsolete labels is inventory even when finished shirts are not pre-purchased.
For the broader production decision, use our on-demand versus bulk framework. Here, the additional question is whether the label process remains repeatable at the order sizes and timing your program needs.
Use a short release checklist before opening orders
- The reason for changing the label is written down and still justifies the added work.
- The exact garment and production route support the chosen method.
- A complete before-and-after label map is approved.
- Variable information is connected to the ordered variant, not guessed from a master mockup.
- A finished sample has passed the agreed physical checks.
- The supplier has confirmed applicable labeling requirements and who owns the related records.
- Quote, reorder terms, substitution handling and revision ownership are recorded.
Release the configuration, not just the logo. If the supplier changes the underlying garment, pause that affected configuration until its label plan is checked again. Keep the rest of the store available when the issue is isolated rather than unnecessarily stopping unrelated products.
Company apparel label FAQs
Does a tear-away tag mean we can remove every label?
No. Treat it as a product feature to discuss with the supplier. Review the entire garment and the replacement plan; a removable neck tag does not answer what should happen to a separate care or information label.
Is a printed neck label always more comfortable?
Do not promise that without assessing the finished sample. Check the print’s feel, position and remaining collar details with actual wearers. Keep an alternative when the proposed treatment does not meet the brief.
Can one branded label design cover the whole company store?
The visual identity can be shared. The production record still needs to handle each product’s relevant information and ordered size. Separate the reusable logo asset from the variable data before approving a template.
When should we leave the original label alone?
When it already works, the original brand matters to recipients, the supplier cannot demonstrate a reliable replacement process, or the added cost and work do not solve a meaningful problem. A well-chosen garment with a clear outside logo does not need an extra interior treatment to be a thoughtful employee gift.