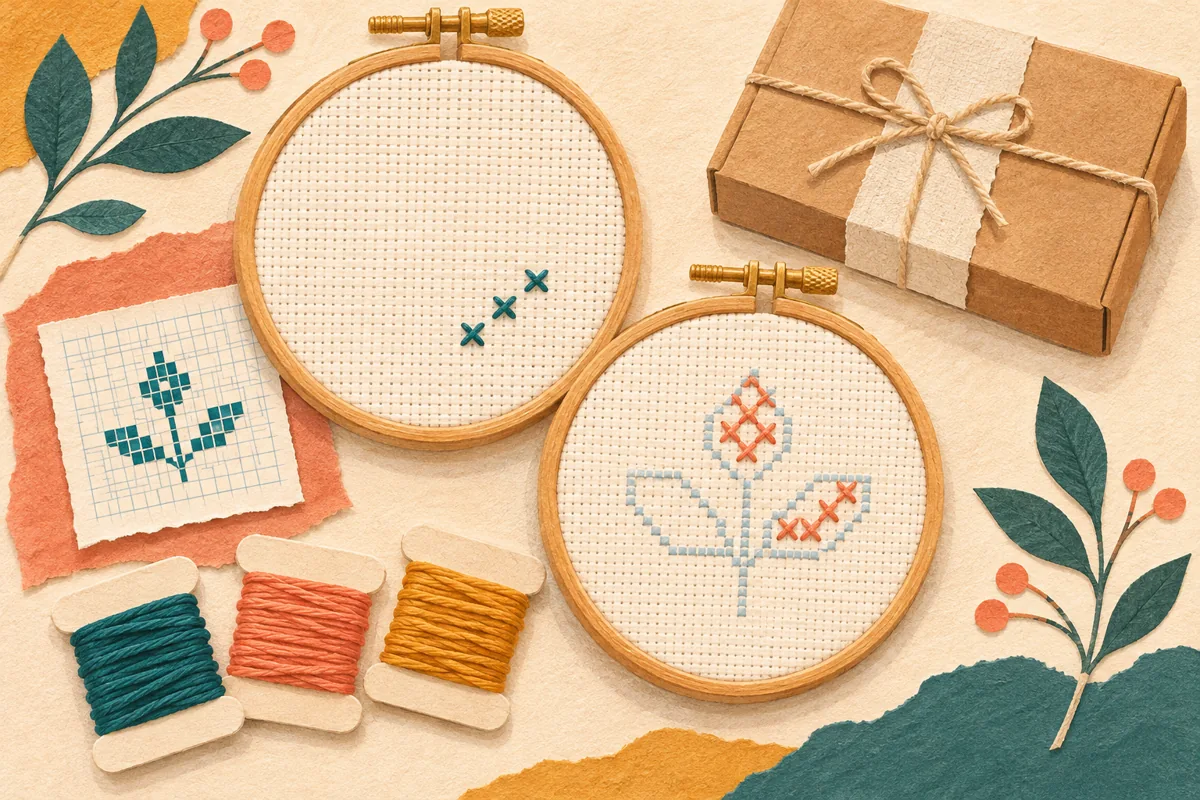
Choose counted cross-stitch kits when learning to read a chart is part of the workshop; consider stamped kits when you want participants to follow a design already marked on the fabric. Neither label proves that a kit is complete, readable or finishable during your event. Buy for the first stitching session, not just the photograph of the finished piece.
For a library craft evening, museum volunteer event or optional employee hobby gift, the useful question is: what must the recipient work out before making the first stitch?
Confirm where the pattern lives
Scarlet Quince's chart-reading tutorial distinguishes stamped cross stitch, with stitches printed on the fabric, from counted cross stitch, worked on blank fabric using a separate chart. The chart's symbols and key identify the thread colors and stitch positions.
Ask to see the actual fabric, chart and instructions, not only the package front. A decorative printed background does not necessarily mean the stitch locations are printed. Likewise, the presence of a paper chart does not, by itself, tell you whether the cloth is marked.
- Choose counted if your instructor plans to teach finding a starting position, matching symbols to thread and counting between stitched areas. Include time for those steps.
- Consider stamped if the session's aim is following visible stitch guides. Check that participants can distinguish the markings and that the instructions explain the color key. Printed fabric does not eliminate every setup decision.
- Offer another activity if a participant does not want close needlework. For employee gifts, an optional gift preference question is more useful than assuming everyone wants a craft project.
For stamped kits, get the exact manufacturer's finishing instructions. Do not promise that all printed marks wash out, or advise washing the cloth before use, without confirmation for that kit.
Check fabric count and instructions together
DMC explains that Aida count describes the number of stitches per inch: a higher count produces smaller stitches. DMC recommends 14-count Aida for beginners. Treat that as a starting point for sampling, not a guarantee that every participant will find the fabric comfortable to use.
Check the actual chart at its supplied size under the venue's lighting. Can the instructor distinguish similar symbols? Can a new stitcher match a thread to its label? Can someone follow the instructions without relying solely on color? If larger instructions are needed, obtain an authorized accessible version rather than assuming you may copy and enlarge a commercial pattern for the whole group.
A small finished design can still contain many stitches or unfamiliar techniques. Ask for the stitch list and have the instructor review it. Avoid translating “beginner” into an unverified completion-time promise.
Separate kit contents from workshop equipment
As a concrete documentation example, DMC's UK Learning Cross Stitch Kit listing, SKU BK1986/BE, identifies thread, 14-count Aida, a needle, a wooden hoop and an instruction booklet. It also describes an enclosed QR code for a video tutorial. Scissors are not listed among its contents. That is a reason to confirm cutting equipment—not to assume that every “learning kit” has the same packing list.
This is a manufacturer example, not a verified Brand Sauce catalog offer. Do not infer availability in another destination country from the UK listing. Any sourcing, customization and delivered pricing require confirmation.
For a hosted event, separate what stays at the venue from what goes home. Shared scissors may work during the class, but a take-home project needs clear instructions about anything the participant must supply later. If you are choosing cutting tools, use the workshop scissors handedness check as well. Retain the kit's needle storage and age guidance; choose adult workshop kits for adult programs rather than quietly repurposing them for children.
Run a first-stitch trial before buying the group quantity
Ask the instructor and a willing novice to open one proposed kit and attempt its initial steps using only the planned event equipment. This is a suggested acceptance exercise, not a product test we have performed.
- Lay out the contents and identify anything supplied separately.
- Locate the starting point using the included instructions.
- Identify the first thread and the required number of strands.
- Make a small initial section, then pause and explain how to resume.
- Record where help was needed and whether the venue or take-home instructions resolve it.
Approve a realistic session outcome: “learn the setup and begin a motif” is different from “leave with a finished framed piece.” If completion during the event matters, the instructor should trial the whole project before you advertise that outcome.
Copy this workshop buying brief
Kit name / exact SKU / destination country: ___
Pattern location: marked cloth, separate chart, or both: ___
Fabric count / stitch techniques / instruction language: ___
Included tools and materials: ___
Venue-supplied equipment / take-home extras: ___
Printed instructions sufficient without video? If not, access plan: ___
First-stitch trial obstacles and resolutions: ___
Promised session outcome / instructor approval: ___
Finishing directions / safe storage / alternate activity: ___
Keep any organization branding on an approved outer sleeve or accompanying card unless the kit maker agrees to a different treatment. Preserve the pattern, thread labels and instructions that make the gift usable.
Primary sources checked November 6, 2026. Decision logic and trial brief are editorial recommendations, not customer results. Image is AI-generated editorial artwork, not a photograph of a supplied kit.